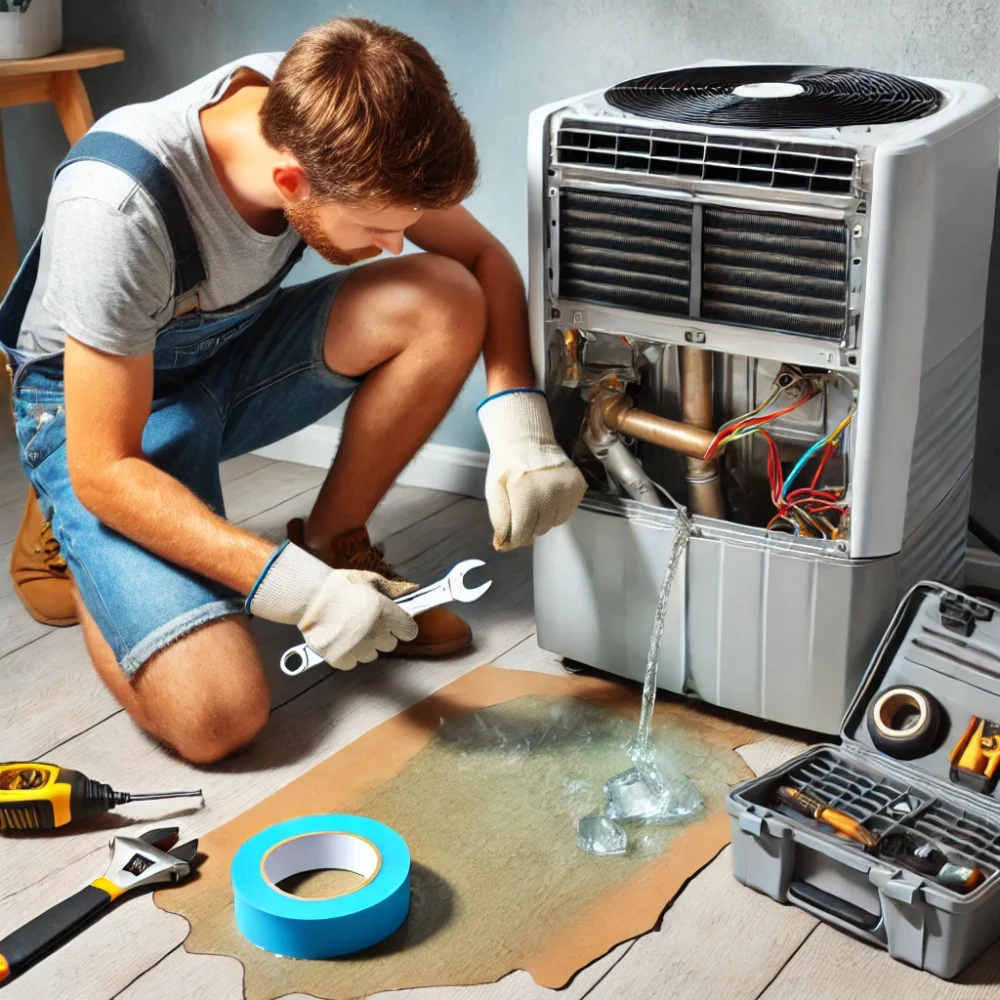
How to Fix Water Leakage in Your Air Cooler
Water leakage in an air cooler can result from an overfilled tank, a loose drain plug, a damaged tank, a water-distribution problem or a faulty internal component. The right solution depends on where the water is escaping and when the leak occurs.
Before inspecting the cooler, switch it off and disconnect it from the power supply if you can do so safely. If water has reached the plug, socket, electrical controls or wiring, do not touch the wet electrical equipment or attempt to unplug it yourself. Keep away from the area and arrange for the power to be isolated safely by a qualified person.
You can begin with a few external checks, but internal pump, wiring and electrical repairs should be left to an appropriately qualified technician.
Why Is Your Air Cooler Leaking Water?
An air cooler uses a water reservoir and a water-distribution system to supply moisture to its cooling pads. Water escaping from the appliance may indicate a problem with the tank, drainage, water level or another component.
The following are possible causes, not confirmed diagnoses.
1. The water tank is overfilled
Adding more water than the tank can safely hold may cause water to spill through an opening or escape when the cooler is moved. A float mechanism or water-level control problem may also contribute to overflow in models equipped with those components.
What to check: Once the cooler is switched off and safe to approach, inspect the visible water level. If it exceeds the marked maximum level, follow the manufacturer’s instructions for reducing it safely.
2. The drain plug is loose or damaged
Some air coolers have a removable drain plug or drainage fitting. If it is not seated correctly, has deteriorated or is damaged, water may escape from the lower part of the tank.
What to check: Look for visible dripping around the external drain outlet. If the plug is accessible without opening the appliance, check its position against the manufacturer’s instructions. Do not force it or attempt to repair damaged threads.
3. The water tank is cracked or damaged
A crack, damaged joint or worn tank fitting can allow water to escape even when the tank is not overfilled.
What to check: With the cooler switched off, look for visible cracks, damp marks or a trail of water on the outside of the tank. Do not fill a visibly damaged tank to test the leak.
A cracked tank or damaged fitting may need replacement. The appropriate repair depends on the tank material, construction and manufacturer’s recommendations.
4. A water hose or distribution component is leaking
Water may travel through hoses, channels or distribution components before reaching the cooling pads. A loose connection, damaged hose or blockage can interfere with normal water flow.
What to check: If the cooler has external water connections, look for visible drips without removing covers or reaching inside the appliance.
Internal hoses and distribution components should be inspected by a technician if the source of the leak is not externally accessible.
5. A water pump or float mechanism may be faulty
In models with a water pump, float or automatic water-level control, a malfunction may affect circulation or water levels. However, a leaking cooler does not automatically mean that the pump is defective.
What to check: Note whether the leak occurs only while the cooler is operating, after the water circulation starts, or even when the appliance is switched off. This information can help a technician narrow down the possible causes.
Do not run the cooler with its covers removed to observe the pump or internal water flow.
6. The cooler is tilted or not positioned level
An uneven floor or an improperly positioned removable tank may allow water to collect or escape from an unintended location.
What to check: Look at the cooler’s position from the outside. If it is safe to do so, make sure the appliance is placed on a stable, level surface and that any removable tank is positioned according to the manufacturer’s instructions.
Do not move a water-filled cooler if doing so could cause a spill, injury or electrical hazard.
How to Troubleshoot Air Cooler Water Leakage Safely
Follow these steps in order. Stop if the next step would require opening the appliance or handling an electrical component.
Step 1: Stop using the cooler if there is significant leakage
Switch the cooler off. Disconnect power only if the plug and surrounding area are dry and safe to reach.
If water has reached electrical components, the socket or the plug, do not touch the wet equipment. Keep people away and have the electrical supply isolated safely.
The U.S. Centers for Disease Control and Prevention provides electrical-hazard safety guidance, including precautions for electrical equipment that has become wet.
Step 2: Identify where the water appears
Without opening the cooler, observe the visible location of the leak.
- Water near the bottom: A drain plug, tank, fitting or internal water path may be involved.
- Water around the tank opening: Overfilling, splashing or water escaping from the reservoir may be responsible.
- Water around an external connection: A hose or connection may be leaking.
- Water appearing only during operation: A circulation or distribution problem may be involved.
- Water leaking even when switched off: A tank, drain or connection problem may be involved, depending on the cooler’s design.
These patterns help narrow down possible causes; they do not prove which component has failed.
Step 3: Check the visible water level
If the tank is accessible without opening an electrical or internal compartment, compare the water level with the manufacturer’s recommended limit.
If it is overfilled, follow the owner’s manual to correct the water level. Do not operate the cooler while water is spilling or leaking.
Step 4: Look for an obvious external drainage problem
Inspect the external drain outlet and any accessible plug or fitting. Look for visible damage, displacement or persistent dripping.
Do not insert tools into internal pipes, dismantle fittings or force a stuck plug. If the drainage arrangement is unclear, consult the manual for the exact model.
Step 5: Check the cooler’s position and visible condition
Make sure the cooler is on a stable surface and that any removable tank is seated correctly. Look for obvious cracks, damaged external connections or other visible defects.
Do not remove internal covers or reach into the water-distribution system to find the leak.
Step 6: Arrange an inspection if the cause remains unclear
If the cooler continues to leak after safe external checks, keep it switched off and seek appropriate repair assistance.
A technician may need to inspect the tank, drain assembly, hoses, water-distribution components, pump or water-level mechanism, depending on the symptoms and model.
Do not replace parts solely on the assumption that one particular component is responsible.
Air Cooler Leaking From the Bottom: What Could It Mean?
Water underneath the cooler is a symptom rather than a diagnosis. The likely causes depend on when the water appears and where it originates.
Observed symptom | Possible explanation | Appropriate next step |
Water appears after filling the tank | Overfilling, a damaged tank or a drain problem | Check the water level and visible external condition |
Water drips continuously while the cooler is off | Tank, drain plug or connection leak | Keep the cooler off and inspect only externally |
Water appears after circulation starts | Water-distribution or pump-related issue | Stop operation and arrange inspection if the cause is not obvious |
Water appears around an external connection | Loose or damaged connection | Follow the model’s instructions for accessible external fittings |
Leakage continues despite correcting the water level | A damaged part or another underlying fault may be present | Arrange professional inspection |
The table is a troubleshooting guide, not a substitute for inspection. Different air cooler models have different tank and water-circulation arrangements.
How to Prevent Water Leakage in an Air Cooler
Routine maintenance can help identify some problems before they become more serious.
Avoid overfilling the water tank
Follow the water-level markings and the manufacturer’s instructions. Do not assume that every model has the same maximum capacity or water-level mechanism.
Clean the cooler according to its manual
Remove accessible dirt and residue using the cleaning method recommended for your model. Avoid allowing water to reach electrical components, controls, plugs or sockets.
Inspect visible parts periodically
Look for cracks, damaged drain fittings, displaced external hoses and other visible signs of deterioration. Stop using the appliance if a defect causes persistent leakage.
Maintain the cooling pads appropriately
Follow the manufacturer’s cleaning and replacement guidance for the installed pad type. Water dripping from a pad does not automatically mean the pad must be replaced; the cause may lie elsewhere in the water-distribution system.
Follow model-specific instructions
If you own a Symphony air cooler, consult the official Symphony owner-manual page to find the instructions applicable to your model.
For a model-specific overflow problem, the related Symphony air cooler water-tank overflow guide may also be useful.
When Should You Seek Professional Air Cooler Repair?
Arrange an inspection if:
- Water continues leaking after you have corrected an obvious overfilled water level.
- The tank, drain assembly or an internal connection appears damaged.
- Leakage occurs when the pump or water-circulation system operates.
- You cannot identify the source without dismantling the appliance.
- Water has reached electrical parts or the power connection.
- The cooler shows sparking, damaged wiring, a burning smell or another electrical warning sign.
Do not operate the appliance again until any water-related electrical hazard has been assessed and the equipment is considered safe to use.
A qualified technician can assess the source of the leakage and determine whether cleaning, adjustment, repair or component replacement is appropriate.
Frequently Asked Questions
Why is my air cooler leaking water from the bottom?
Possible causes include an overfilled tank, a loose or damaged drain plug, a cracked tank, a leaking connection or an internal water-distribution problem. The exact cause depends on the model and the circumstances in which the leak occurs.
Can I fix air cooler water leakage at home?
You may be able to correct an obvious overfilled water level, check the cooler’s external position or identify a visibly displaced accessible drain plug, provided the appliance is switched off and safe to approach. Do not dismantle internal components or attempt electrical repairs.
Why does my air cooler leak only when the pump is running?
Water leaking only during operation may indicate a problem with water circulation, a hose, a distribution component or another part of the water system. This symptom does not confirm that the pump itself is faulty. Stop using the cooler if it leaks and arrange an inspection if the source is not obvious.
Should I replace the cooling pads if water is leaking?
Not automatically. Damaged or incorrectly installed pads may contribute to water-distribution problems in some designs, but a leaking tank, drain fitting or hose can produce similar symptoms. Identify the likely cause before replacing parts.
Is it safe to use an air cooler that is leaking water?
It is safest to stop using a cooler with significant or unexplained leakage until the problem has been identified. If water has reached the electrical connection, controls or wiring, do not touch the wet equipment. Have the supply isolated safely and arrange an appropriate inspection.
Where can I get help with air cooler water leakage in Hyderabad?
Aircooler Clinic, a unit of FIXNEARME, provides doorstep air cooler services in Hyderabad and applicable service areas, subject to confirmation of availability. Call 7997100067 or email aircoolerclinic@gmail.com to describe the problem and check whether service is available for your location and cooler.
Aircooler Clinic does not operate a separate physical service center. The official FIXNEARME address is not a customer walk-in repair facility.
Conclusion
Air cooler water leakage may result from overfilling, a drainage problem, a damaged tank, a water-distribution fault or another component issue. Start with electrical safety, identify where the water appears and check only accessible external parts. If leakage persists, avoid dismantling the appliance or replacing components without a diagnosis.
For further assistance, contact a suitable repair provider and confirm that the service is available for your location and model before arranging an inspection.